Stata is used in various classes at both the graduate and undergraduate level.
Students and faculty have several ways to use it, either remotely or on their own computer.
[STUDENTS] Install Stata BE on your PC
For academic year 2022-2023 the QED has a site license for all students both graduate and undergraduate and teaching faculty.
To get a link to download Stata to your personal computer, fill out the registration form:
Register as a QED User of Stata
[STUDENTS] Use Stata on Campus
The Student Stata I/C license is installed in labs listed below.
[FACULTY & GRAD STUDENTS] Run On QED Servers or Under the Grad Plan
Department servers have Stata installed. Faculty and graduate students can obtain accounts and more info from Mark Babcock.
If they use any flavour of Stata for teaching or research on their personal computer they can purchase directly from Stata using the
Grad Students who need Stata S/E or MP can also purchase directly from Stata under the Grad Plan.
[ALL] Run Stata on a Queen's Virtual Server
If none of the other options work, you can run our Stata license remotely.
To access our Stata Virtual Server
- Contact Mark Babcock for your NetID to be added to the service.
- Download and install the Cisco Anyconnect VPN client from the Queen's ITS software page.
- Use these connection details:
Address to connect to: DUPUIS-B36-adminPix.fw.queensu.ca:8443
- Once you click Connect, you’ll see the following warning:
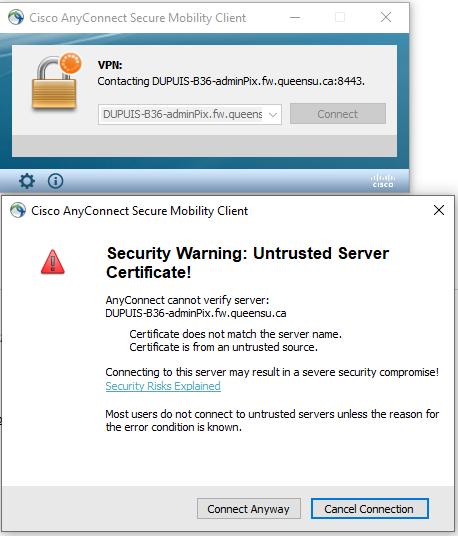 This is fine, users can click Connect Anyway.
- Select ECONSTATA. from the GROUP dropdown menu.
- Once selected, enter your NetID credentials for Username and Password and click OK
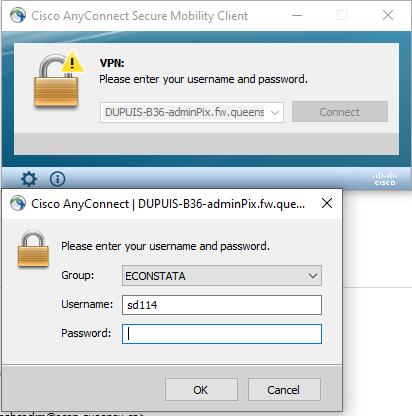 You will receive the Security Warning again but can again click on Connect Anyway.
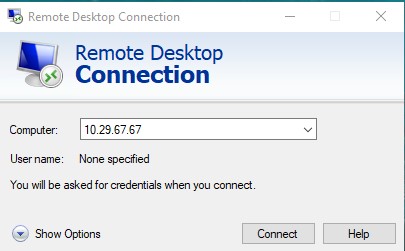
- WINDOWS USERS: Launch Remote Desktop Connection and enter 10.29.67.67 as the computer name:
 Mac users: install Remote Desktop 10 through the App Store provided by Microsoft.
- To access your local computer for data files or Stata code configure Remote Desktop to allow that.
- On the main screen click show options.
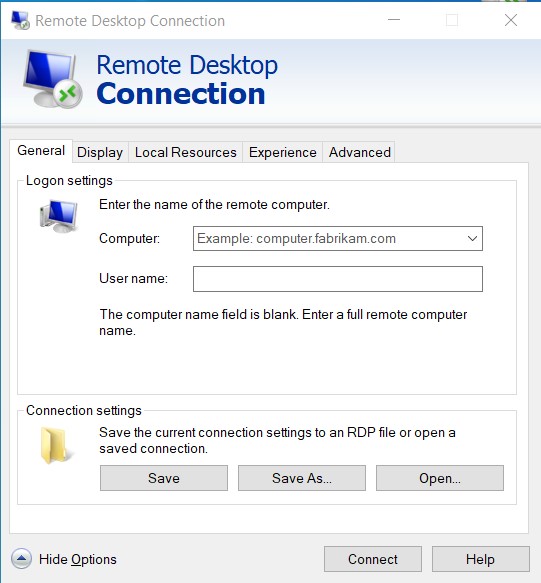
- Select the Local Resources tab.
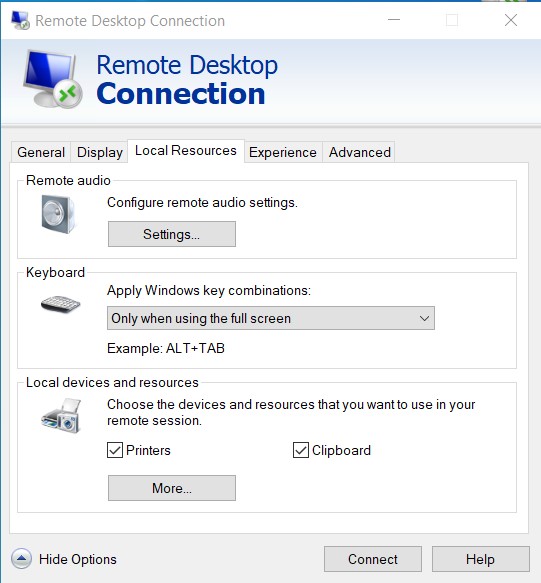
- Then select More...
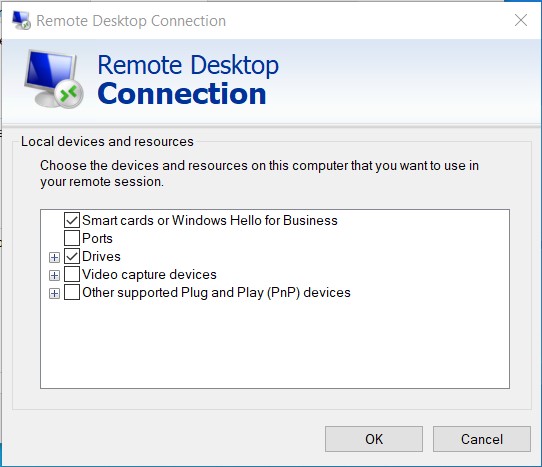
- Make sure to check the Drives check box. This will allow you to access your local computer's hard drives along with any drives you plug in later. (USB stick or USB hard drive) Go back to the General tab and save your configuration.
- On the main screen click show options.
- Once you click connect you’ll get a Remote Desktop Connection window asking if you trust the connection. Feel free to click “Don’t ask me again for connections to this computer” and then click Connect. You will be prompted for your NetID and password. You need to put ad\ in front of your NetID when you log in. Feel free to save that information if you are not working from a public computer.
You are now connected to the Virtual Computer ITS has set up for us offer Stata to our students. Stata 13 and Stata 16 are both installed.
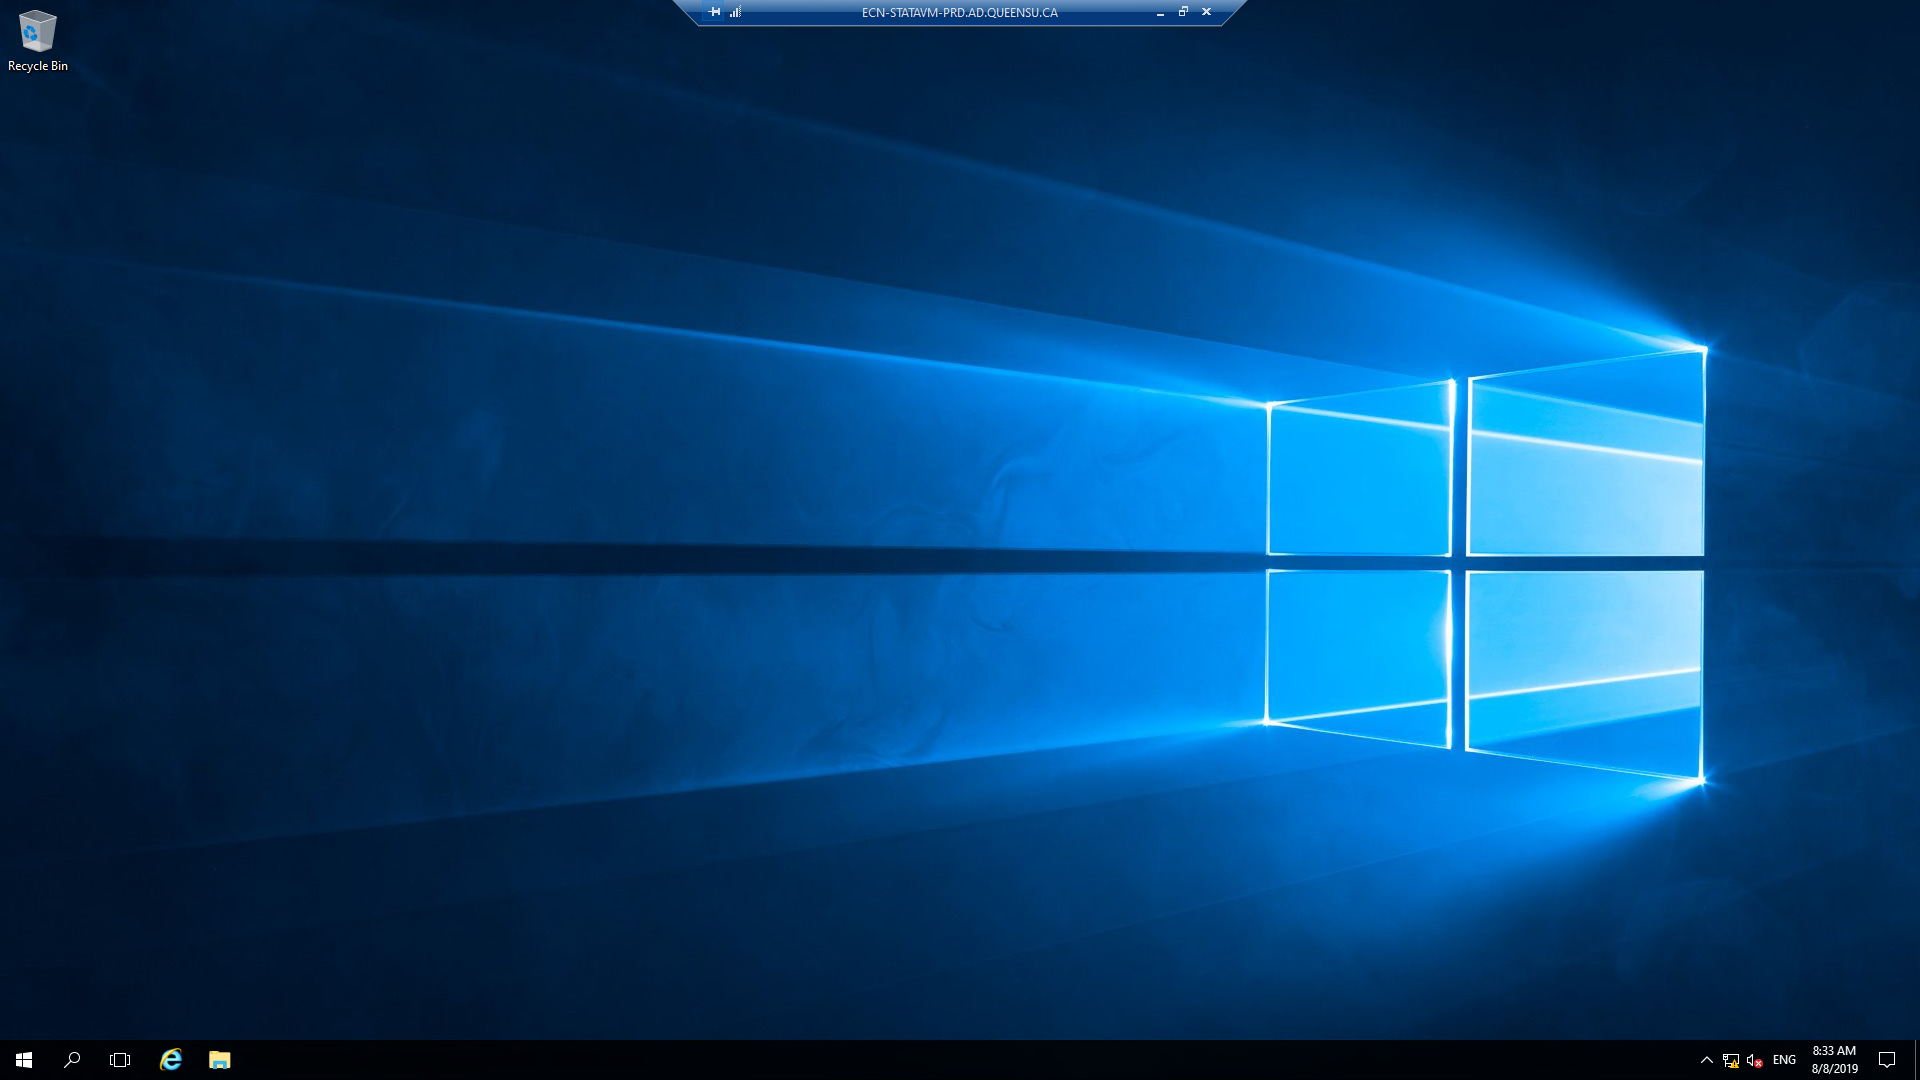
To access your files on your local computer click on the file folder on the task bar.
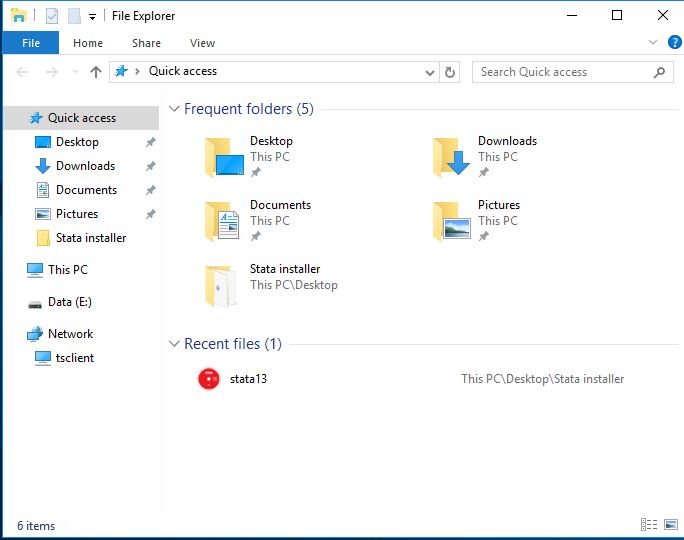
Click the network icon.
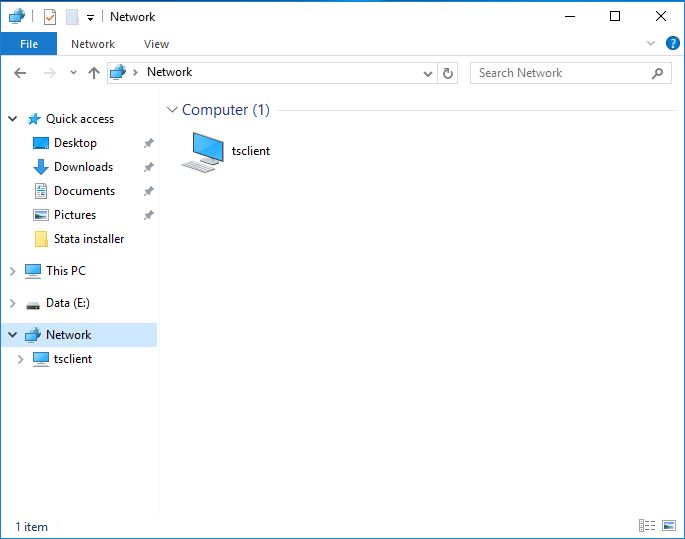
Click the tsclient icon.
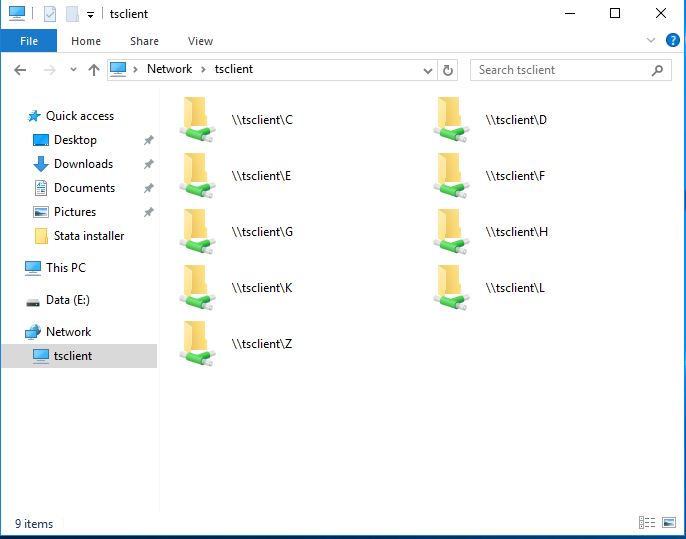
You will see a list of all of the drives available on your local computer that you can copy files from. Click on the drive name to search through and find your Stata files.
Please contact Mark Babcock if you run into issues.